Check your sound before recording
Make sure you can hear the lesson—and your own voice—before you record an answer.
For IMPACTER CORE lessons with Tech check. Use the speaker and microphone checks for an audio response. You only need the camera check if you plan to record video.
1. Open Tech check
In your lesson, select the small status button above the recorder. Before you’ve tested anything, it says Test speaker. The label changes as you complete the checks.
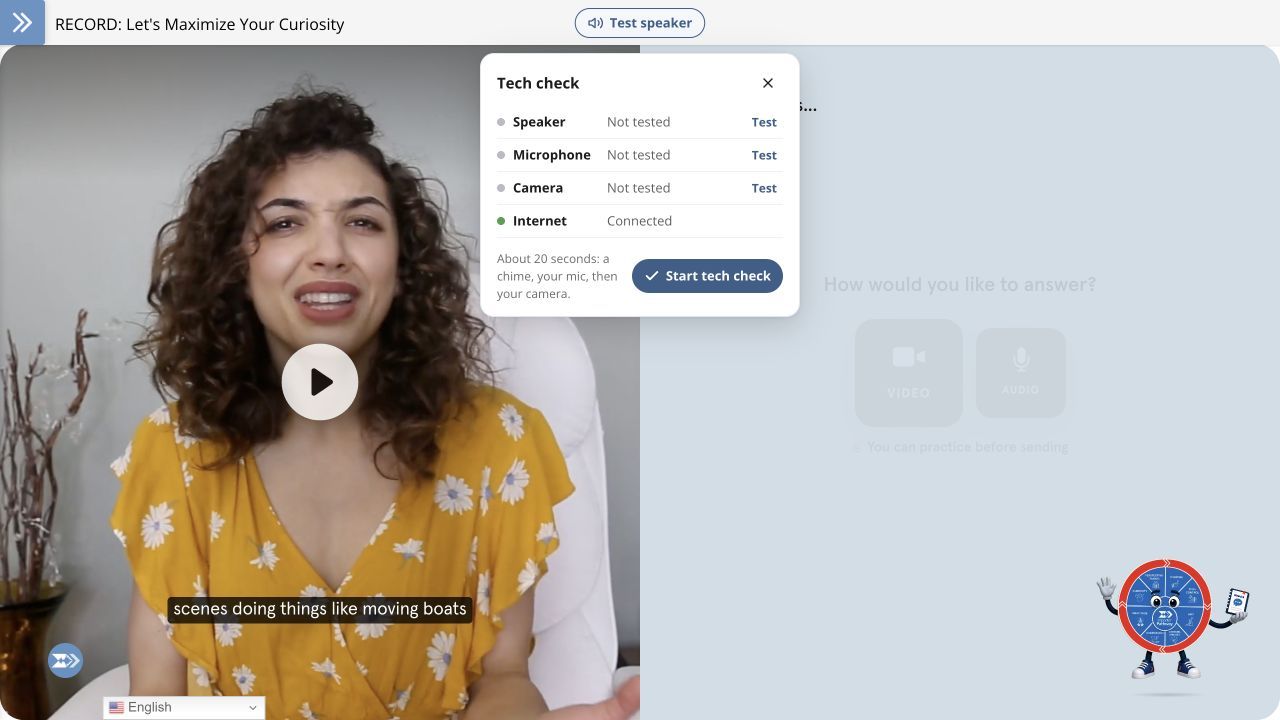
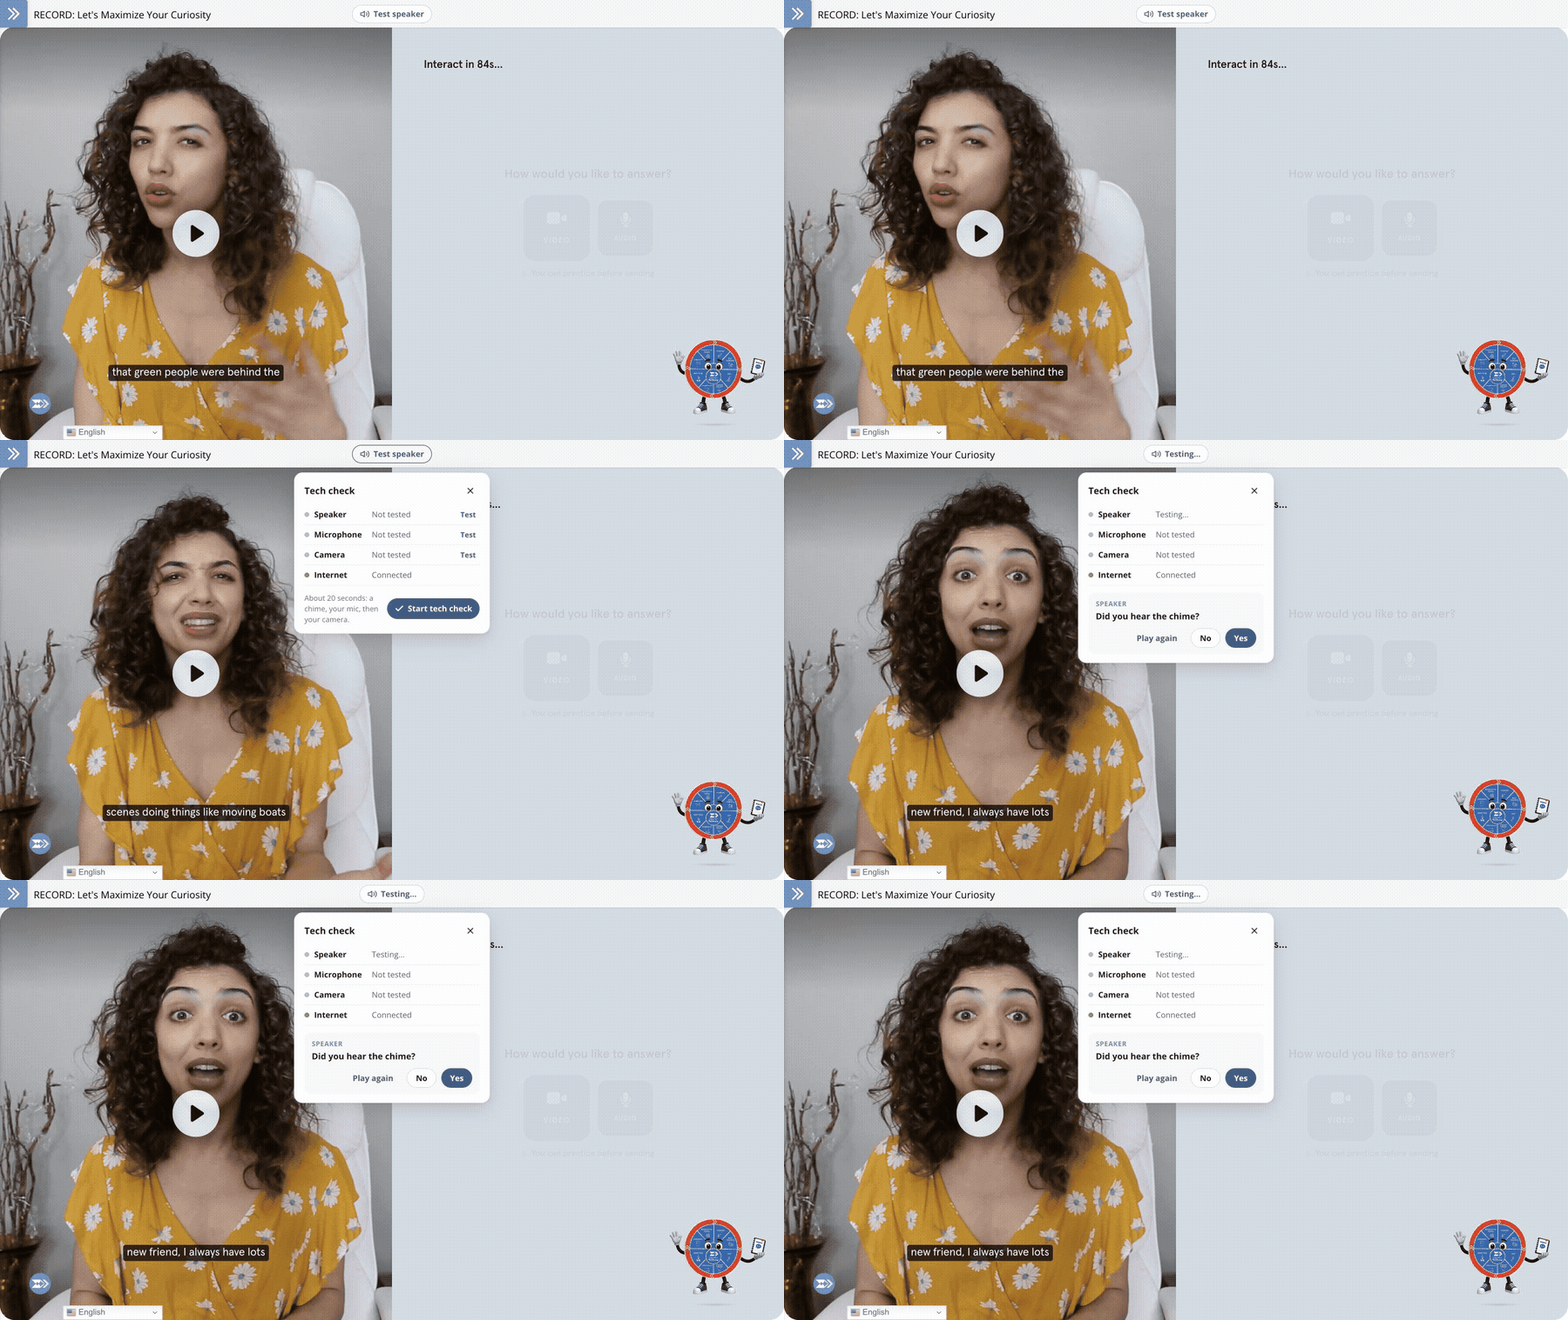
2. Check your speaker
- Next to Speaker, select Test.
- Listen for the chime.
- Select Yes if you heard it. If you didn’t, select No, check your volume and headphones, and try again.
You can select Play again to hear the chime once more.
3. Check your microphone
- Next to Microphone, select Test.
- If your browser asks, allow microphone access.
- Say a few words during the short recording.
- Listen to the playback. Select Yes if you can hear your voice clearly.
If you change your microphone or headphones, test again before recording your answer.
If a check doesn’t pass
- Mic blocked: open the unblock steps in Tech check. If your school controls the browser setting, ask your teacher or school IT team for help.
- No sound: check that your volume is up, your device isn’t muted, and your headphones are connected. Try the speaker check again.
- Can’t hear you: check your microphone’s mute switch, speak close enough to the mic, and test again.
- No internet: reconnect to your school’s network and retry.
4. Record your answer
When the speaker and microphone pass, you can record an audio response. A camera problem does not have to stop you: Tech check can show Ready for audio even when the camera needs attention.
If you see Use audio, selecting it closes the panel. Then select Audio in the lesson recorder. That is where you record and submit your actual answer.
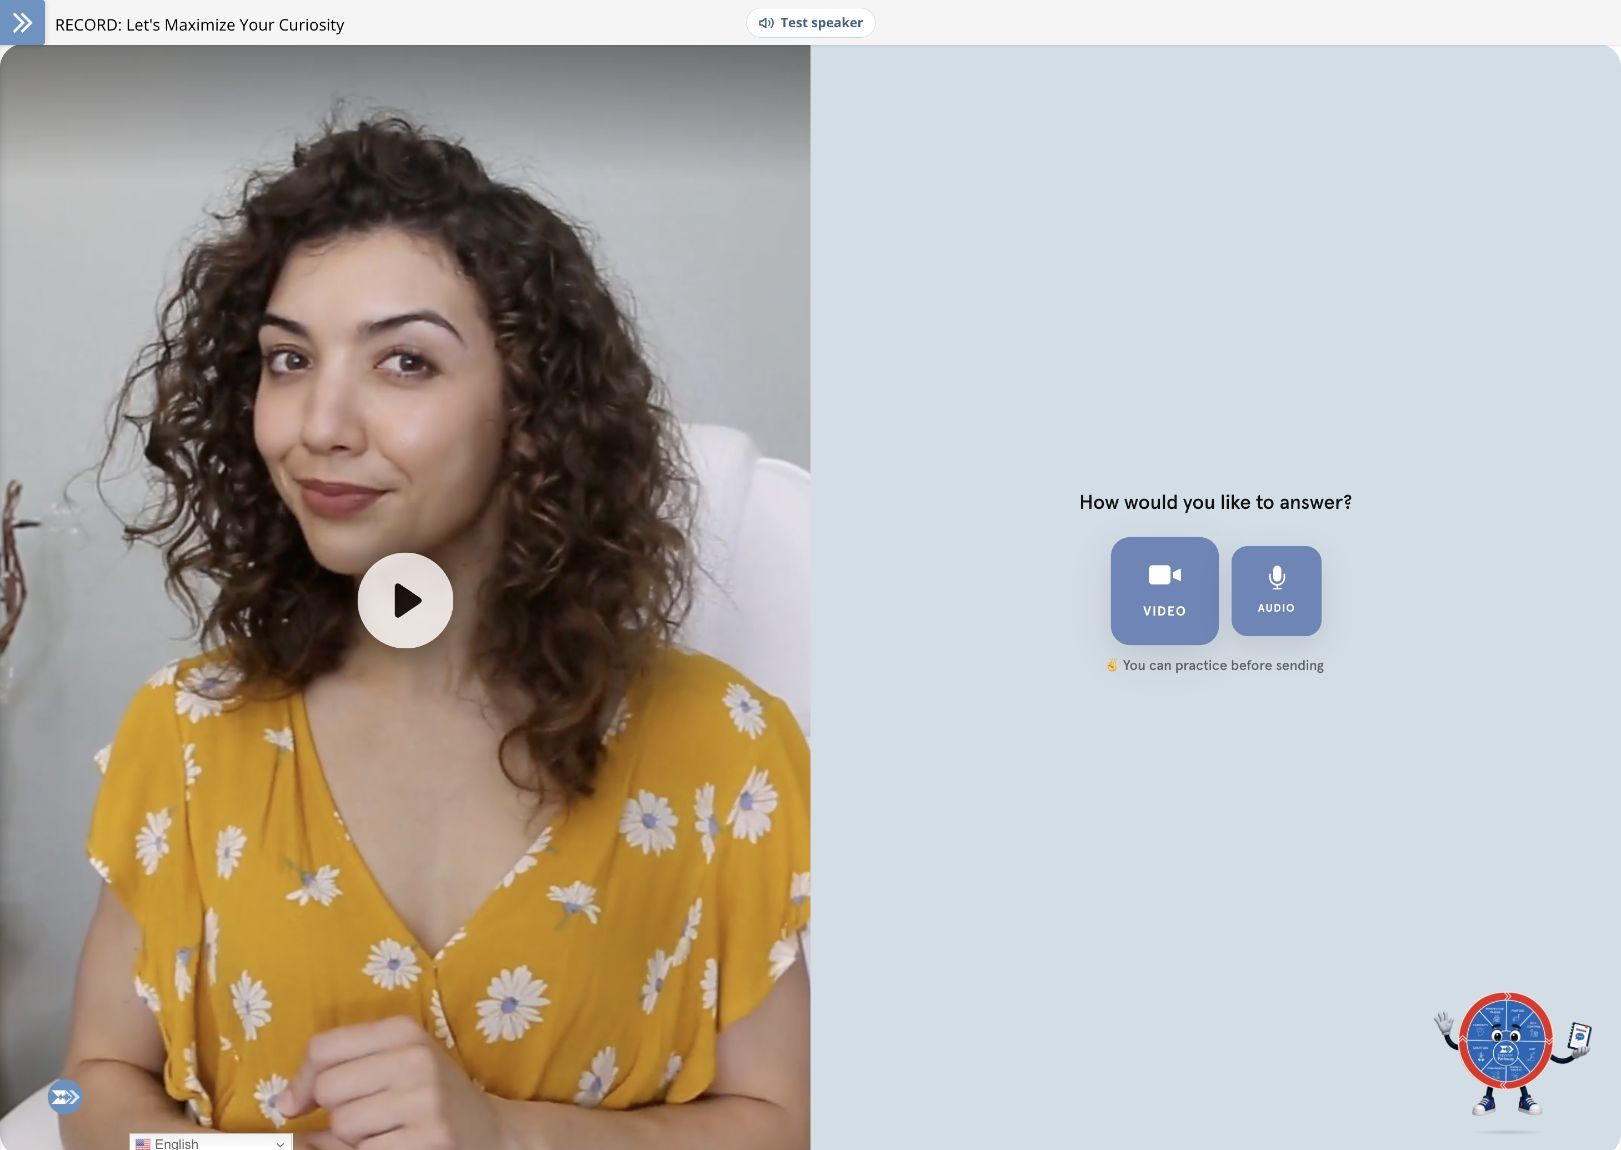
The check is practice. Testing your microphone does not submit a lesson response. Finish the recording and submission steps in your lesson.
Don’t see Tech check in your lesson, or still having trouble? Ask your teacher for help and share the exact message you see.
About the video
The guide combines real CORE sandbox screens with labeled demonstrations of the Tech check widget for microphone and error examples.
Video transcript
Before you record an answer, check that your sound is working. Open the Tech check above the recorder.
Start with the speaker. Play the chime, and choose Yes only if you hear it. If you do not, check your volume and headphones, then try again.
Next, test your microphone. Allow microphone access if asked, say a few words during the short recording, and listen for your voice.
A red result means something needs attention. If your mic is blocked, open the unblock steps, or ask your teacher for help.
A camera problem does not have to stop an audio response. When your speaker and microphone pass, the check can say Ready for audio.
Choose Use audio to close the panel. Then select Audio in the lesson recorder and record your actual answer. The tech check does not submit your lesson response.